Part 1 - Django & Vite
This is part 1 of this series
In part 1, we focus on getting a basic Django project up and running with React and Typescript using Vite.
Set up dev environment
Python virtual environment
There are many options to manage virtual environments and dependencies in Python. Here I’m using pipenv.
Create a new virtual environment and activate it:
pipenv shell
Install Django
pipenv install django
Git
This is a good website to create a gitignore file gitignore.io - Create Useful .gitignore Files For Your Project You can select options that are specific to your development environment to create the right gitignore file. In my case I select: macOS, VisualStudioCode, Python, and Node.

Initial a git repository and make the first commit
# copy the generated gitignore content from clipboard
pbpaste > .gitignore
git init
git add -A
git commit -m "Initial commit"
Basic Django project
We’re going to follow this relay example Tutorial Intro | Relay. This is very well written example from Relay team. This series will help walk you through this example and also how to implement the server side in Python using Django and Strawberry.
# new project directory
mkdir newsfeed
cd newsfeed

# new django project
django-admin startproject newsfeed_proj .
[Optional] Create a custom user model
This is not needed in this series, but in general you want to create a custom user model from the beginning to make it easier for you down the line.
Outline:
-
Create new
accountsapp:python manage.py startapp accounts -
Add
accountsto list ofINSTALLED_APPSinsettings.py -
Define the CustomUser model
-
Tell Django to use your custom user model
-
Perform migrations:
python manage.py makemigrations
python manage.py migrate
Commit: https://github.com/tuan/newsfeed-demo-app/commit/61d9d320c573b2989c788471a28865561fbe5363
Add a home app
This home app serves the HTML template that hosts our client (React app).
Outline:
- Add new home app:
python manage.py startapp home - Add
hometoINSTALLED_APPinsettings.py - Create a HTML template in
home/templates/home/index.html - Create a View that uses the HTML template
- Creates home/urls.py and entry for the newly created view
- Updates project’s urls.py to add an entry for home’s routes
Commit: https://github.com/tuan/newsfeed-demo-app/commit/7d8c340e6c9d6e7fc424f9b0e25546c7d5387d09
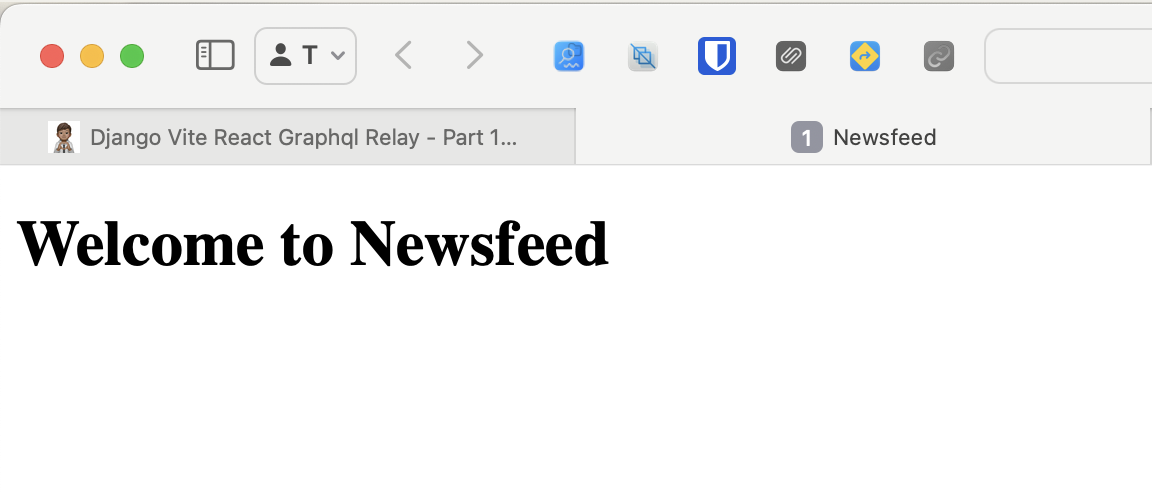
After making these changes, you should be able to run dev server and view the home template.

Basic Vite with React and Typescript
Now that we have a basic page served by our server. It’s time to add a client side app (React). We’re using view to sets up the boilerplate for React with Typescript.
pnpm create vite
Project name: client Framework: React Variant: Typescript
Now we can start the client’s dev server with
cd client
pnpm install
pnpm run dev
Note down the port of the dev server. We will need it shortly. In my case, the port is 5173.
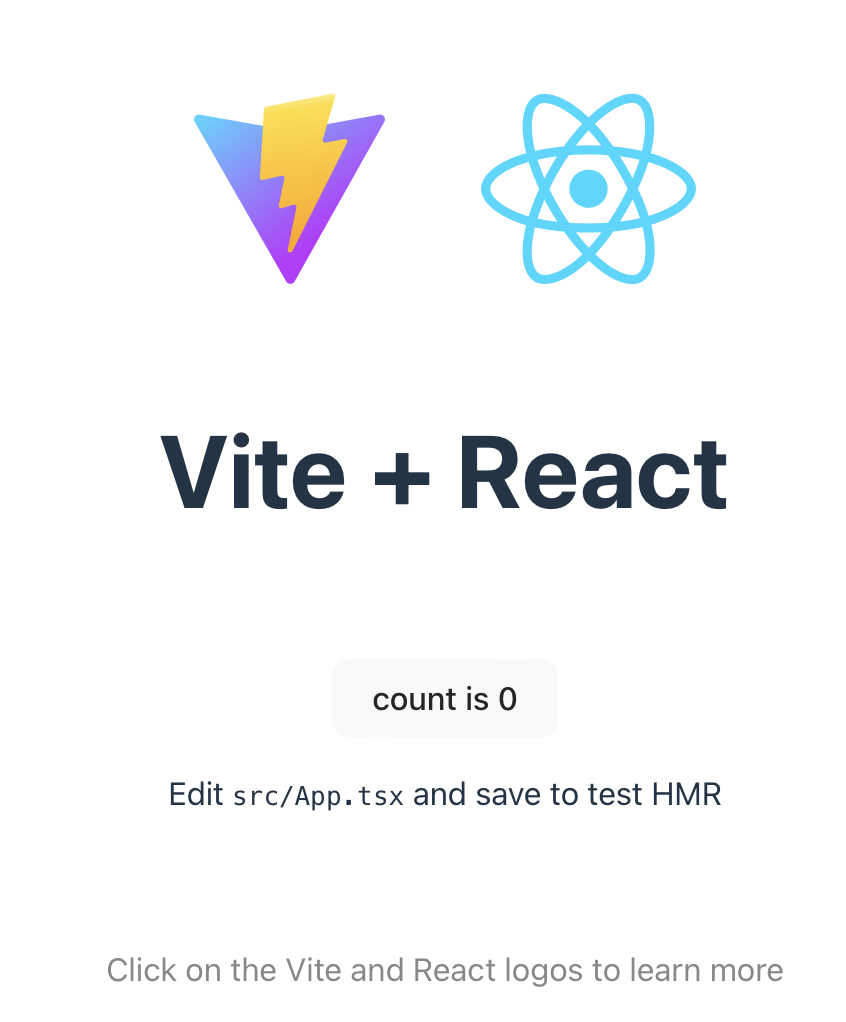
If you open the homepage of the client’s dev server, you should see a sample Counter app

Django’s integration with Vite
At this point, we have 2 servers running in development. One is served by Django, the other is served by Vite. The next step is to configure Django server to serve static assets (css, js, etc.) that the Vite server hosts.
In production, we will have only one server, Django, hosting our page. We won’t need Vite server running. All the assets that are bundled by Vite will collected by Django at compile time and served at runtime.
For vite integration, we use MrBin99/django-vite: Integration of ViteJS in a Django project..
Outline:
- Install django-vite package using pipenv
- Add django-vite to INSTALLED_APPS in settings.py before home app
- Update vite.config.ts
- Configure Django Vite in
settings.py - Updates home template to finish the integration
Commit: https://github.com/tuan/newsfeed-demo-app/commit/54d2ee29e7b8cf74ceeb2e5e8bca326309fdce73
After making these changes, you can open the home page served by Django and view the sample Counter app! Note: during development you need to keep both Django and Vite devservers running.
Another cool thing is that HMR (hot module reloading) also works. If you make changes in your React app now, you can see the changes reflect in the Django’s page almost instantly!